Two LG 34UM95 Monitors at my disposal! Great setup! Two times 3440×1440 resulting in a mindblowing 6880×1440 working area. I once had a student walking into my office shouting, “WOW: TWO ULTRAWIDES???”

config, code, consume
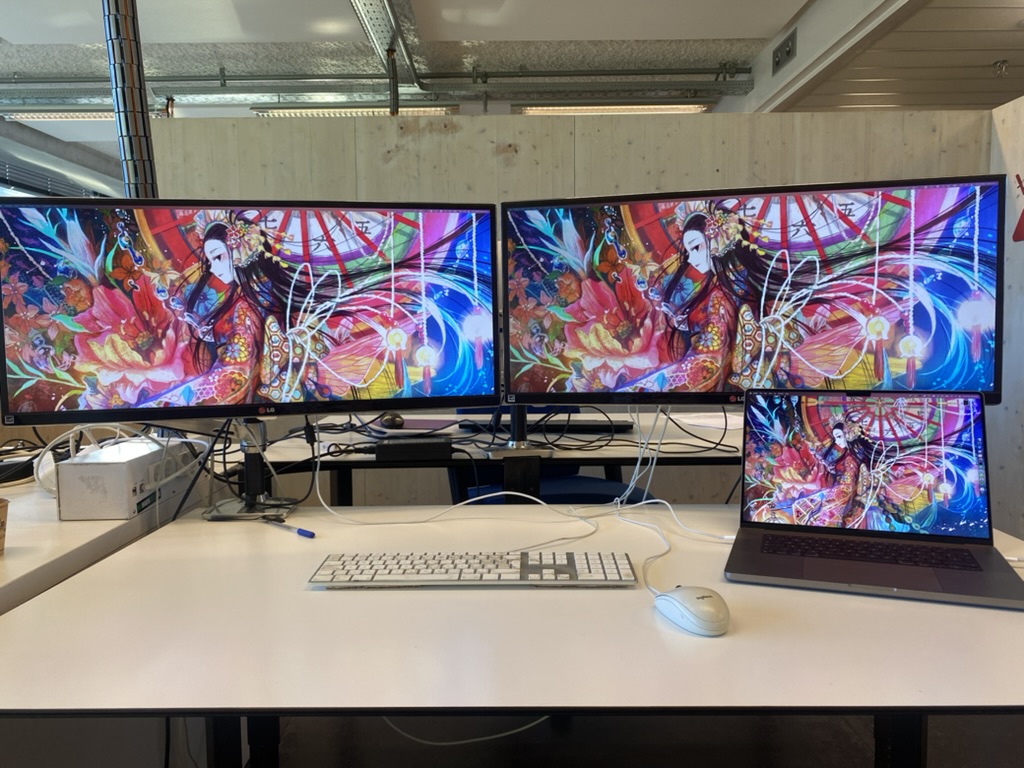
Two LG 34UM95 Monitors at my disposal! Great setup! Two times 3440×1440 resulting in a mindblowing 6880×1440 working area. I once had a student walking into my office shouting, “WOW: TWO ULTRAWIDES???”
I once was quite ready with every major update of macOS ruining my apache setup. So I decided to install nginx. Besides, it is by far the better webserver of the two, so that is a win-win!

First install Homebrew:
$ /bin/bash -c "$(curl -fsSL https://raw.githubusercontent.com/Homebrew/install/HEAD/install.sh)"The installer will ask you to run some commands, make sure not to miss them. Then install nginx:
$ brew install nginxAfter that start nginx as a service:
$ brew services start nginxAfter that I create symlinks so I can just find the documentroot at /var/www and the config at /etc/nginx
In the nginx.conf make sure to run the webserver as you:
user remy staff;Okay, call me old-school, but I still do a LOT with PHP, so let’s brew up some PHP-foo while we’re at it.
$ brew install phpIn /opt/homebrew/etc/php/8.1/php-fpm.d/www.conf specify fpm to run as you and listen to a socket file, rather than a port:
user = remy
group = staff
listen = /opt/homebrew/var/run/php-fpm.sock
And make sure nginx is configured to forward php to the same socket.
upstream phpfpm {
	server unix:/opt/homebrew/var/run/php-fpm.sock;
}
This should do it…

Another version bump…

Gotta stay up to date…

I recently lost a box due to unpaid invoices; all mail from my hosting partner ended up in my junk-folder, never saw them. So I had to get a new box and do a fresh install. Let’s write up the lessons learned while doing this.
Thanks to my previous posts everything was back in no time, but since my first steps in OpenBSD were a bit bumpy I decided to do a new write-up, first let’s install OpenBSD. The only problem I ran into was the fact that for some reason DHCP was not working so I had to manually configure the network.
After that I followed my previous hardening procedures. Learned about setting the clock on OpenBSD to fix a problem with pkg_add. To install some hard-needed utilities:
$ doas pkg_add nano git rsyncNext up: installing and configuring the OEMP stack. The acme-client seems to be part of base these days, nice!
$ doas pkg_add nginx mariadb-server php-mysqliI have a nice git-repo with all kinds of useful stuff to configure nginx called etc-nginx. Not public (yet). I clone it into ~/git/etc-nginx.
Preparing the /etc/nginx directory for my default way of working:
$ cd /etc/nginx
$ doas ln -sf ~/git/etc-nginx/common
$ doas ln -sf ~/git/etc-nginx/nginx-openbsd.conf nginx.conf
$ doas mkdir cert
$ doas openssl dhparam -out /etc/nginx/cert/dhparam.pem 4096
$ doas mkdir sites-enabled
$ cd /etc/nginx/sites-enabled
$ doas ln -sf ~/git/etc-nginx/sites-available/acme-challenge.conf
$ doas nginx -t
$ doas rcctl start nginx
Configure acme-client to automate the renewal of the Let’s Encrypt certificates.
$ doas cp /etc/examples/acme-client.conf /etc/acme-client.conf
$ doas nano /etc/acme-client.conf
Change the domain example.com to your domain and add alternative names, change the location of the files to /etc/nginx/cert/.
domain example.com {
  alternative names { secure.example.com }
  domain key "/etc/nginx/cert/key"
  domain full chain certificate "/etc/nginx/cert/chain.crt"
  sign with letsencrypt
}
Let’s run the client: (double v for extra verbose)
$ doas acme-client -vv example.comAdd the dynamic vhosts configuration for single cert:
$ doas ln -sf ~/git/etc-nginx/sites-available/dynamic-vhosts-single-cert.conf
$ doas nginx -t
$ doas rcctl reload nginx
Browsing to any of the domains pointing to this box should now work. Now that we have nginx running https we can add the certificate renewal to crontab:
$ doas crontab -e

30 2 * * * acme-client example.com && rcctl reload nginxThe packages are already installed so we only need to configure them.
$ doas /usr/local/bin/mysql_install_db
$ doas rcctl start mysqld
$ doas /usr/local/bin/mysql_secure_installation
$ doas ln -sf /etc/php-8.0.sample/mysqli.ini /etc/php-8.0/
Most times I just install a couple of php-modules because I will eventually end up using them anyway. Most notably php-curl. And as it turns out there is something you’ll need to do to make it work that caught me on one of my servers…
$ doas cp /etc/resolv.conf /var/www/etc/resolv.confMake sure everything is enabled and starts at reboot:
$ doas rcctl enable httpd
$ doas rcctl enable php80_fpm
$ doas rcctl enable mysqld
$ doas rebootMost simple way to verify the whole stack is by installing phpmyadmin into: /var/www/html/phpmyadmin
$ cd /var/www/html
$ doas curl -o file.tar.gz https://files.phpmyadmin.net/phpMyAdmin/5.1.0/phpMyAdmin-5.1.0-english.tar.gz
$ doas tar -xzf file.tar.gz
$ doas ln -sf phpMyAdmin-5.1.0-english.tar.gz phpmyadmin
$ cd phpmyadmin
$ doas mkdir tmp
$ doas chmod 777 tmp
$ doas mv config.sample.inc.php config.inc.php
$ doas nano config.inc.php
Add a 32 char long random string for Blowfish and enter 127.0.0.1 for the first server instead of localhost. Follow any upcoming errors in phpmyadmin…
It was a really warm summer evening in the Netherlands when me and my girl were relaxing at the cockpit of our sailboat with the radio on. Since we were pretty much alone in the marina, the radio was quite loud. And at 19:00 this happened:

Rob Muntz’ Monaco here we come
We loved it!! Play at loud volume!
Other link: The Inburgerkings wordpress…

After a couple of syspatch and sysupgrades I am now running OpenBSD 6.8! Let’s see what is all new here…
Finally found this track back: Sabres of Paradise – Wilmot
A real old time favorite of me….
https://www.youtube.com/watch?v=DUxZz4lVRfA
While Sabres of Paradise was active for a few years, its members split up to form Two Lone Sordsman and The Aloof…
How funny that just a couple of days later I was glamping at ‘t Buitenland where Menno, the guy running the site, during cleaning, had this dub-style playlist on his JBL bluetooth speakers. As it turned out it was a public spotify playlist and I listened the list for a couple of time before I started to delve into the works of the artists on the list. Which made me discover who Shantel was.
On of his Top5 songs on spotify turned out to be Bucovina, which is, well, basically the exact same song!
Okay, I’m a bit of a nerd, yeah! I have many crazy hobbies and one of them is solving cubes. I’m not into speed cubing (yet) but like to solve different cubes.
Yeah, the basic cube. All methods of solving cubes basically come down to variations on the solution for the 3×3. So here is a short version of the solve for beginners:
Okay, now let’s start talking about parity!
Super simple cube, no edges, just put corners in position. One parity, switched corners:
Two possible parities: The first one is that after completing the second layer you don’t find 0, 2 or 4 edges with their yellow side up, but you might also have 1 or 3. In this case choose on edge from the second layer and rotate this edge:
The second parity is with the final corners: two corners are swapped:
Reduce to a 3×3. Centers first, edges after that. Team up to edge pieces on either side of a center:
Last top edge (or wings) swapped:
Last two corners swapped:
When I first installed MongoDB on my OpenBSD box I didn’t care about authentication, it was behind the firewall, purely for testing purposes. I first wanted to have some fun with it. But now I became curious and wanted to things right, so I enabled authentication.
In order to do so we first need to create an admin user:
$ mongo
> use admin
> db.createUser({ user: "admin", pwd: passwordPrompt(), roles: [ { role: "userAdminAnyDatabase", db: "admin" }, "readWriteAnyDatabase" ] });
> exit
After that enable authentication in /etc/mongodb.conf by adding:
security:
  authorization: enabled
Restart mongod
$ doas rcctl restart mongodAfter that you can connect to mongo with:
$ mongo --authenticationDatabase "admin" -u "admin" -pAnd now we can create additional users for our applications:
> use my_db
> db.createUser({ "user": "db_user", "pwd": passwordPrompt(), roles: [{ role: "readWrite", db: "my_db" }]})
And lastly we implement the credentials in our php-project:
<?php

$mongo = new MongoDB\Driver\Manager("mongodb://db_user:password@localhost:27017/my_db");
And we are set to go!